Whether you specialize in tile or are an all-purpose contractor, you know that having the right set of tools can mean the difference between a job well-done and an unhappy customer. If you’re just jumping in, you’ll need to start with the basics and stock your toolbox with the best implements for preparing, laying out, cutting, and installing all different kinds of tile. Here’s our comprehensive guide to the contractor tools you need to keep in your arsenal.
Preparation and Leveling
Even seasoned contractors are only as good as their prep skills. Indeed, prep is half the work when it comes to laying tile for floors, walls, showers, and more. Here’s everything you need to prepare virtually any surface for the job. These tools will help you get rid of the existing tiling and fix up old substrate so it’s ready for a fresh new layer of tile.
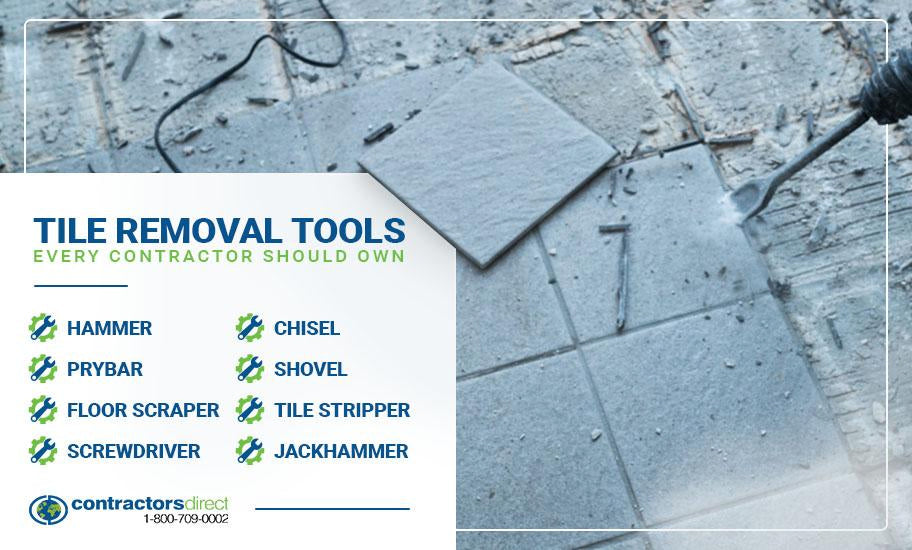
- Tile Removal Tools – Often, the first step in any good tiling job is removing the existing flooring. To do this properly, you’ll need a stash of reliable tile remover tools. Contractors should have what they need to safely, neatly remove tiling of all kinds. You may also want to think about having special tools on hand for removing carpeting and other flooring types. For removing tile, you’ll need options that are both powered and hand-powered, including a Hammer, Prybar, Floor scraper, Screwdriver, Chisel, Shovel, Tile stripper & Jackhammer.
- Layout and Marking Tools – Your tile layout is another crucial component to ensuring that everything turns out looking clean and professional. This is especially true with small tiles, mosaic tiles, and those that create a distinctive pattern, though layout is important even with simple subway tile. Here are some layout and marking tools to keep on hand:
- Treadman tool
- Cutting box
- Chalk line
- G-tape
- Angle guides
- Floor Prep Tools – Although a good tile leveling system can help, your installation is only as good, clean, and flat as your substrate. An important part of prep is ensuring that you start with a clean, flat surface, so make sure you have some substrate preparation essentials on hand. How you fix your substrate depends on the issue at hand, but tools such as a power planer can help you even things out and correct bowing.
- Wet/Dry Vacuum – Every good stash of contractor tools should include a work vacuum. Invest in a high-quality wet/dry vacuum to help you keep your workspace clean from start to finish. A heavy-duty vac can help you keep dust to a minimum while aiding in cleanup as you prep your floor for tiling, install your tiles, and then clean up when you’re done.
CTA: Get The Job Done With Our Tiling Tools
Cutting and Nipping
Few tile tools are quite as essential as your cutters, nippers, and saws. These are the tools you need to turn a basic job into a custom work of art, ensuring that every surface is neatly covered, no matter how large or complex the job may be. Cutting tile is an art and having the proper tools for the job can really make your handiwork shine.
- Wet Tile Saw with Stand – A wet saw is a power tool that uses a water-cooled diamond blade to efficiently cut tile while minimizing dust. If you’re serious about offering tiling as a service—especially if you want to work with natural stone tiles, such as granite and marble—you’ll need a high-quality wet saw by DeWalt, Husqvarna, Saw Master, Rubi Tools, Imer, or IQ Dustless Saw. These are essential for larger tiling jobs because they’re versatile, safe, and accurate.
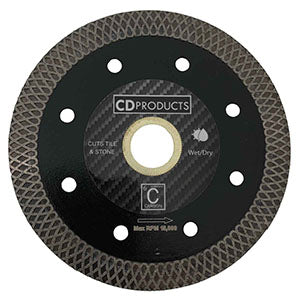
- Diamond Blades – You’ll need diamond blades for your wet saw in order to create clean cuts. Pay close attention to the lifespan rating of your diamond blades and make sure you’re selecting an option designed for the specific type of tile you plan to cut. It never hurts to have a blade on hand for all the most common types of tile, including porcelain, marble, granite, glass, and stone. Also make sure you have a diamond drill bit available to create clean hole cuts.
- Handheld Saw – Handheld tile saws are more compact than wet saws but still bring ample power. They’re a bit more portable and typically offer the ability to cut either wet or dry, which means convenience and versatility you wouldn’t get with any other tool. As long as you have the proper diamond blade, you can use your handheld tile saw to cut a variety of tile types.
- Tile Cutter – The right tile cutter is crucial to a job well-done, but not all cutters are created equal. These essential little tools help you create perfect, precise cuts quickly, especially if you’re working with porcelain or ceramic tile. You need one that can handle the rigors of the job and one that’s equipped for the specific type of tile and the application at hand.
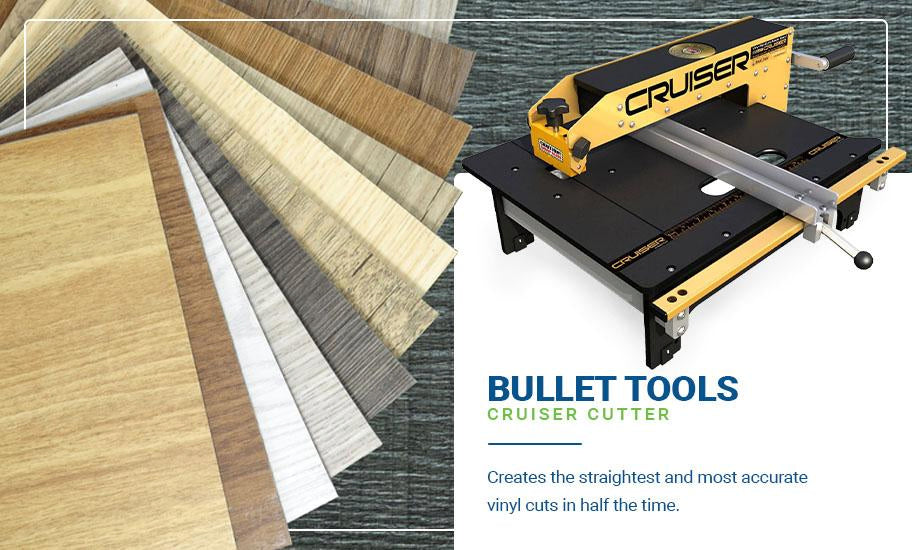
- Vinyl Cutter – It’s hard to deny the endless popularity of luxury vinyl tile (LVT) and plank flooring. Commercial and residential clients alike love vinyl in every room because it’s affordable and low-maintenance, while contractors appreciate how easy it is to work with. If you plan to offer vinyl tile installation, you may want to consider investing in a purpose-built vinyl tile cutter that creates the straightest and most accurate vinyl cuts in half the time.
- Tile Nippers – Always essential on the jobsite, tile nippers are special hand-held cutting tools that break off small pieces of tile in a controlled manner. This helps you create a perfect, custom fit so tiles look made for the space, which is especially ideal when working with porcelain, ceramic, mosaic, and small tiles. Tile nippers are relatively low-cost yet crucial, so we recommend investing in a high-quality option and having a backup on hand.
- Work Table – When cutting and preparing tile for installation, it helps to have a sturdy work table that you don’t mind beating up. The work table can serve as a workbench, scaffold, dolly, and creeper in one. Look for a lightweight folding option that you can easily toss in your truck and haul with you from job to job.
- Jamb Saw – Jamb saws are handy little tools that easily and quickly help you remove the bottoms of door closings so that your tile flooring can easily slide under. This creates a nice aesthetic and a finished look.
- Toe-Kick Saw – Similarly, a toe-kick saw will help you easily remove the flooring under cabinets without having to remove them, making quick work of some of the most complicated tiling jobs. Using steady, handheld control, these saws create flush cuts for that smooth, seamless look.
Adhesive and Installing
You’ve got everything you need to prep and cut your tile. Now you need to fill out your stash of installation essentials to ensure that the tile-setting process goes off without a hitch. This category includes everything you need to grout and lay tile for the most professional result possible.
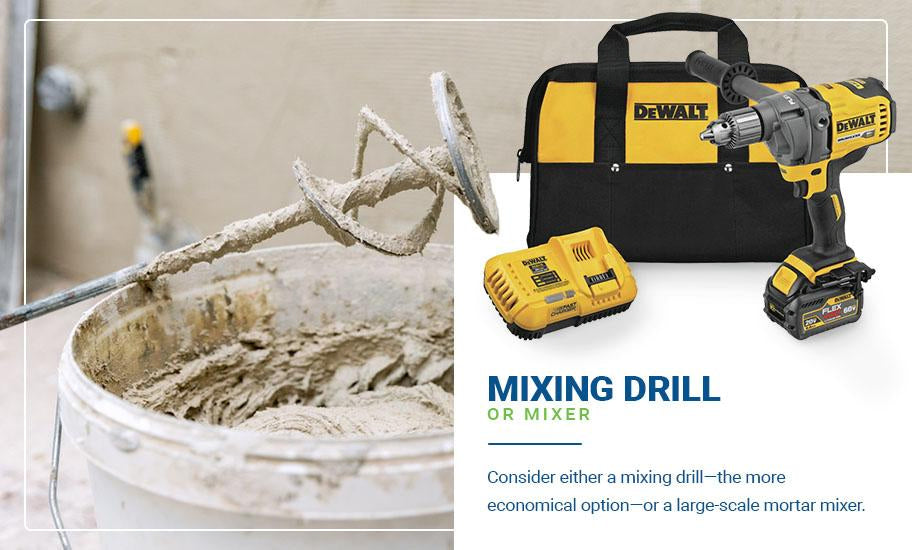
- Mixing Drill or Mixer – You’ll be doing a lot of mixing as a pro tiler. Specifically, you’ll be mixing mortar, grout, and plaster in order to properly adhere tiles to the substrate and to fill in the spaces with grout. It helps if you save yourself the energy of mixing by hand and instead invest in a mixing system. Consider either a mixing drill—the more economical option—or a large-scale mortar mixer.
- Tile Spacers and Wedges – During installation, you’ll need a few tile wedges and spacers in your stash in order to create even grout lines with tiles spaced apart at the same width. You may opt for removable options or try leave-in spacers that can be grouted over for that perfect finish with less work. Make sure you have a variety of tile spacers and wedges of different widths so you can create grout lines of varying sizes according to your client’s preferences.
- Tile Leveling System – Tile leveling systems help you create seamless, properly leveled surface when installing tile. They’re designed to help you create a smooth surface with minimal or no lippage. Ideal for porcelain stile, marble, and stone, a good leveling system allows you to quickly level, align, and space individual tiles without any complicated tools. This is an absolute essential for creating a professional-looking tiled surface for your clients.
- Grout Cleaning Bucket – Always have an array of grout sponges on hand to ensure that grout is properly applied and cleaned off the surface of your tiles. Better yet, consider investing in a grout cleaning system that rinses and wrings out your sponges for a cleaner, quicker way to improve your process.
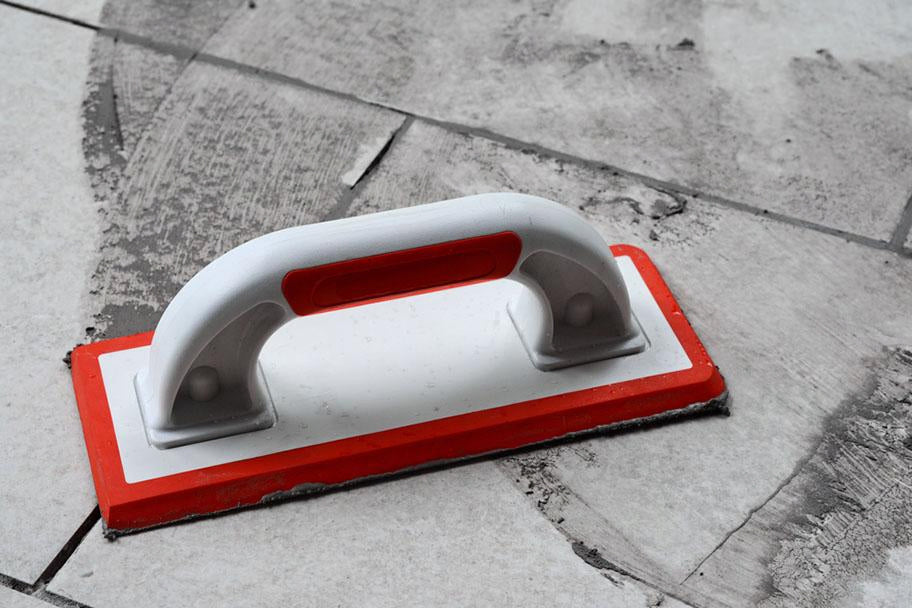
- Grout Floats – Grout floats are the tools used to apply grout between your tiles after they’ve been set. They come in a variety of sizes and styles, and you should have multiple options on hand to serve you, depending on the tile and the application. This ensures that you add the right amount of grout between each space and create a smooth, continuous surface when the job is done. Make sure you have both wall and floor floats in your stash to use, depending on the job. Most importantly, make sure you know how to apply grout using a float.
- Grout and Mortar Applicator – For fast and easy installation of mortar joints, you may want to consider investing in a manual grout applicator. These feature a thin nozzle that allows you to quickly easily install mortar joints between tiles, bricks, and blocks.
Safety Gear and Extras
Cutting tile, dealing with harsh chemicals, and being on your feet all day can take a toll on the body and present some safety risks. With this in mind, you’ll need to make sure you have everything you need to prevent injuries and accidents while on the job, including a stash of personal protective equipment (PPE). These items can also help ensure that you feel comfortable and don’t fatigue as easily during long, complex tile installations.
- Knee Pads and a Knee Roller – Tiling is manual labor that involves you being on your feet or your knees for long periods of time. A good pair of professional tiling knee pads can help you work longer hours without pain or discomfort as you install tile on floors, showers, baths, etc. You may also consider some rolling knee pads so you can move about easily and preserve your energy.
- Eye Protection, Face Mask, and Dust Shield – Remember that tile installation can be dangerous if you don’t have the proper safety gear. This is especially true when you’re cutting tile or mixing up grout and mortar, both tasks that can send teeny-tiny particles into the air, which can get stuck in your eyes or throat and lungs. Be sure to use a pair of goggles or work glasses and a face shield or dust mask to keep out airborne dust and particles.
- Grouting Gloves – You never want to work with grout or other harmful chemicals without wearing a pair of heavy-duty gloves. The right pair of gloves will protect your skin from contact damage while also keeping you from having to violently scrub your hands at the end of the day.
Trust Contractors Direct
Regardless whether you’re a general contractor or a tiling specialist, you’ll be in great shape with this collection of quality tiling tools. As the top resource for tiling pros, Contractors Direct is pleased to offer special pricing for contractors to help you stay under budget and complete any job so your business thrives. We’re always here to help you decide on specific tools, brands, and systems to meet your unique needs, so don’t hesitate to reach out to us if you need assistance.
Image Credits:
DUO Studio/Shutterstock.com
Aha-Soft/Shutterstock.com
makasana photo/Shutterstock.com
ronstik/Shutterstock.com
Kingsman Asset/Shutterstock.com
milart/Shutterstock.com
Meta Title: 20+ Essential Tiling Tools Every Contractor Should Own
Meta Description: Starting your own tiling enterprise? Whether you’re a seasoned contractor or brand-new to the game, Contractors Direct has the tools you need for the job.

