

Source: ImageFlow/ Shutterstock
If you want to add an instant pop of elegance to your kitchen, installing or updating that backsplash is one of the best places to start. A fresh, elegant backsplash attracts eyes as surely as a cake baking in your oven attracts the ravenous.
And, luckily, this surefire way to upgrade your kitchen doesn’t require a professional team. You, the crafty do-it-yourselfer, can get the job done with just a bit of know-how. When you do decide to add that backsplash, you can play it relatively safe with some basic white subway tile, or you can go with something unique—maybe something a little funky. The choices are endless. Go with your heart.
Of course, before you set in, you need to know how much tile you need. Some simple measurements of your space will get the job done. To calculate your square footage, you simply multiply height and width. You’ll want to get a little bit of bonus tile, so you have backup pieces in case any little things go wrong during your operation.
Shop All of Our Tiling Tools
Before you set to work, you’ll want to protect your countertops with cardboard. Be sure to secure that with tape. You will want to be tiling on a clean, smooth surface. So patch holes, sand your walls, and wipe them down with soap and water—dish soap should suffice, though you may need something a little tougher if you’re dealing with an accumulation of grease from years of cooking bacon for breakfast.
Be sure to let your walls dry off entirely before you begin tiling. And, once those walls are dry, it’s time for a dry run: During this step of the process, you’ll be setting your chosen tile against the wall sans adhesive. You’ll be making sure your tile is ready to go before things start getting serious once your mortar is applied.
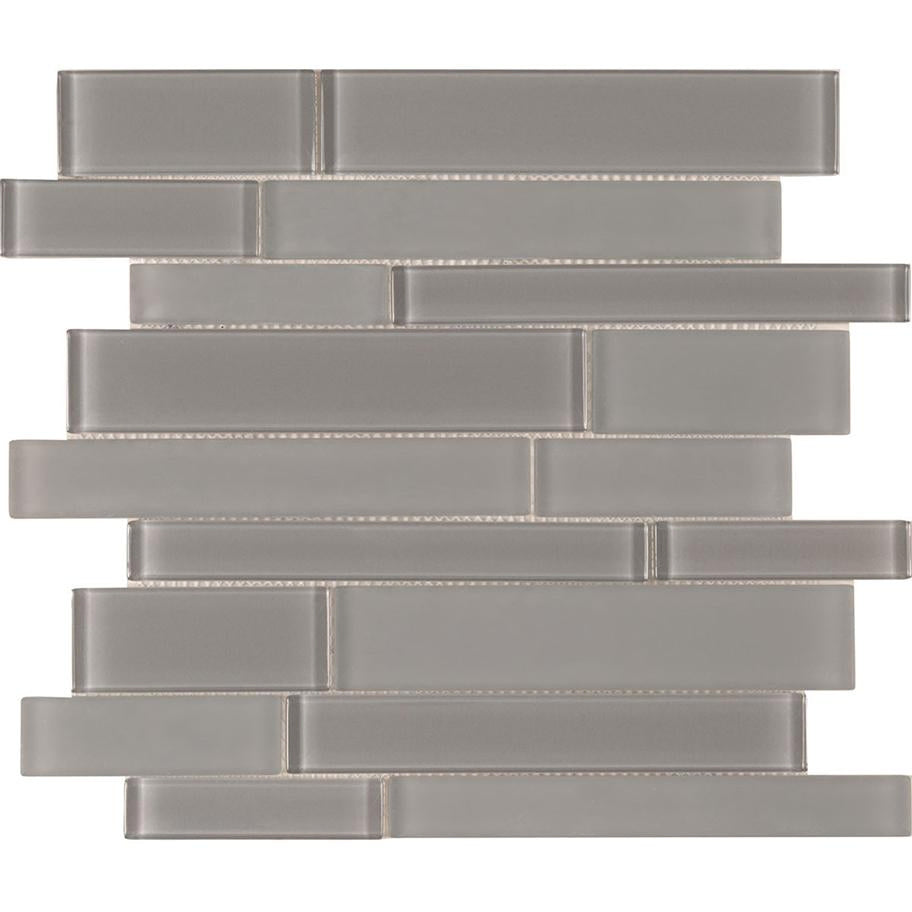
Mixed Tiles
You’ll want to start at a spot on your wall where your eye naturally falls. Place a tile here, mark it with a pen or pencil, and then proceed away from that spot with additional pieces. You’ll want to use a level while you chart your course. While you plot your tiles, you will likely find that some pieces need to be cut. Of course, we have you covered there, whether you need a tile nipper for porcelain; a tile cutter for ceramic, porcelain or glass; or a wet saw for stone.
Next, you’ll want to prepare and then apply your mortar or thinset. Preparation is a straightforward, easy process detailed on your product packaging. You’ll mix your mortar with water in a five-gallon bucket. And then it’s time to apply.
You can start at the focal point on the wall where you began your dry run. With a trowel appropriate for the job—most likely a v-notched trowel, ideal for smaller tiles, the most likely choice for a backsplash—you’ll spread a smooth, thin layer of mortar with the flat part of the trowel before switching to the notched part of the trowel, adding just a bit more mortar, and then sweeping back over the mortar with the grooves, making sure the troughs move in a smooth path.
With a section of wall covered in mortar—you want to tackle the wall in sections, so your mortar doesn’t dry on the wall before you apply the tile—the main event begins: It’s time to apply your tile. Press your tile into the mortar, kind of easing it back and forth into the grout. As you move forward, applying additional mortar and your tile on top of it, stay vigilant for excess mortar oozing out from between your pieces; have a sponge ready to wipe away any ooze before it hardens. You’ll be glad you did.
Once all your tile is in place, you need to wait up to 24-hours for your mortar to dry before you move to your next phase: applying your grout. Like mortar, preparing grout is an easy enough process detailed on your product packaging. Some grout requires no prep; it’s mixed and ready to go.
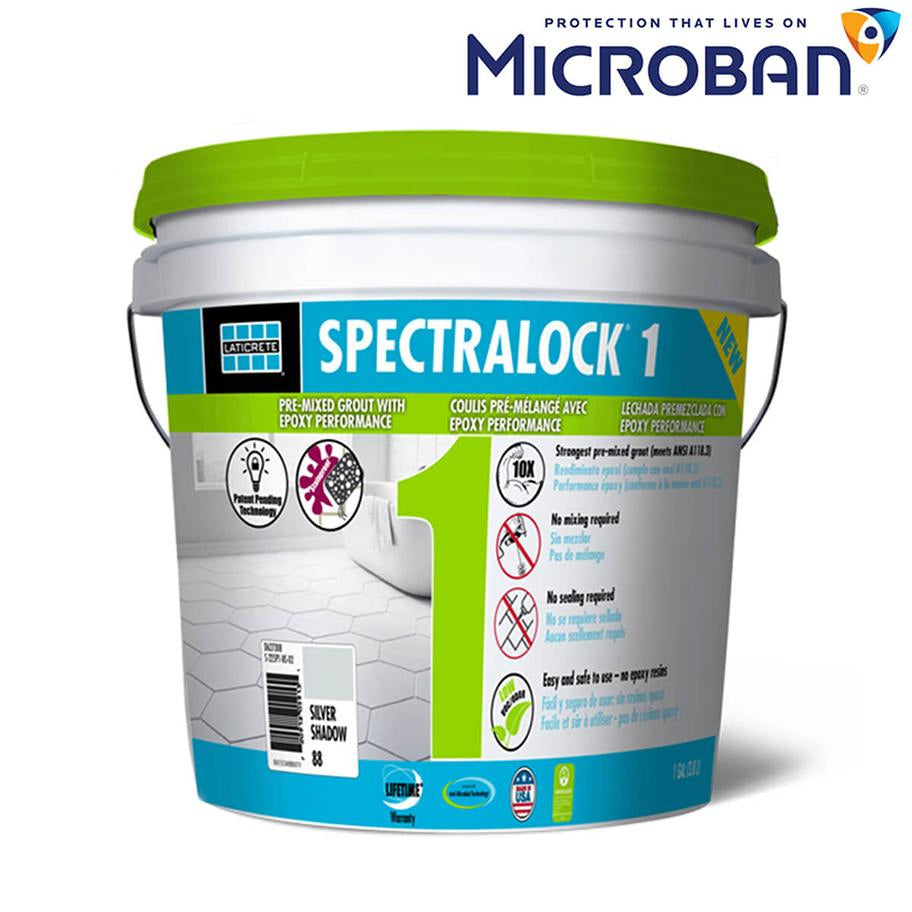
Laticrete SPECTRALOCK 1 Epoxy Pre-Mixed Grout
With your grout ready to go, it’s time to put it to work. Again, you’ll be working in sections. Grab your grout float and apply a smooth layer over your tile. With the grout fully covering your tile, you then wipe the excess from the tiles with a sponge—be careful the sponge isn’t too wet—and rinse routinely throughout the process. You’ll need to wipe your tiles multiple times.
Once your backsplash is fully grouted and wiped down, you’ll want to wait a handful of hours, and then wipe everything down once again with your damp sponge. The following day, you can add a layer of protection with grout sealer. Those are the basics of boosting your kitchen’s appeal with some do-it-yourself skill.
Contact Contractor’s Direct for All Your Tiling Needs
If you have questions about tile and what supplies you need for the job, we’re here for you! Reach out to us at 1-800-709-0002.