Source: LifeCollectionPhotography/ Shutterstock.com
Laying uncut pieces of tile doesn’t pose much of a challenge for intrepid do-it-yourself tilers. Once they have a few pieces under their belts, they’re pretty much good to go. But they face their first true test when they have to work around corners. And when that tile needs to go up a wall—common with a kitchen backsplash or a bathroom—the tiler faces a great nemesis: windows.
Working around windows—or any corners for that matter—requires precision. But with a few properly laid corner pieces under your belt, tiling around windows won’t seem like such a daunting proposition. We’re here to help with the process so you can knock it out of the park right off the bat. So, ready that tile saw, and let’s do this. Here comes a breakdown of some pro tips that will help when your tiling work comes up against a pesky window.
1. Get the right saw.
A harsh reality about tiling—or, really, any other home improvement project you choose to take on—is that you’re only as good as your tools. And the best tiler in the world wouldn’t be such hot stuff without the right tile saw, so don’t mess around with something inferior. Consider what the pros choose and grab our Dewalt D36000S, a beast of a saw that can handle everything from large-capacity cuts down to the intricate snips that will ensure a perfect fit for the tile around your window. Remember to play it safe when using a tile saw. Wear gloves, earplugs, protective glasses, and a mask to protect from harmful silica dust.
Browse Our Selection of Tiling Tools
2. Ready the surface.
It’s critical that you’re laying your tile on a level surface. You know that. But it’s good to get a reminder before tiling around your windows. If the window-adjacent wall is in pretty good shape, simply sand it down and remove anything that’s clinging to the wall. If the area is a little rough, you may need to smooth it out with a layer of cement plaster.
3. Use corner trim.
Deploying corner trim will take a little bit of the pressure off. Some might say it’s a cop-out—we aren’t in that crowd. Corner trim can be a handsome addition and, the fact is, plenty of veteran tilers use trim around windows or underneath cabinets, and they certainly don’t choose it to mask imprecise cuts.

Source: LaineN/ Shutterstock.com
4. Divide and conquer.
While surveying that wall you’re about to tile, you may be tempted to go right for the greatest challenge: your window. While we respect that approach, that’s not how you should proceed. What you want to do is work your way up from the bottom. Here’s a quick rundown of the proper method.
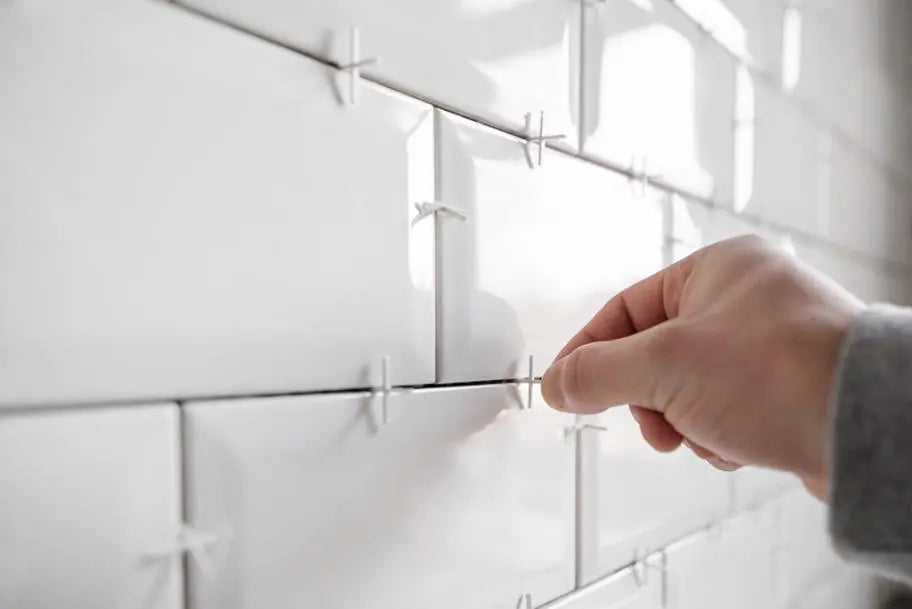
First off, measure the length of your wall and mark the middle—a chalk line comes in handy, here. You’ll then work your way up the wall, one side at a time, starting at the bottom. From there, you’ll want to apply enough mortar for five to eight tiles, depending on their size. Always use the flat side of your trowel before going back over it with the notched side and before pressing your tiles into the mortar. And always use tile spacers.
Use this approach, working your way up the wall—one side, then the other. If you’re so lucky that things work out perfectly and you can tile to the window without making any cuts, go for it. But, more than likely, you’ll need to trim tile for a plumb fit at the window base. If that’s the case—and it more than likely will be—tile up both sides of the wall before tackling the cuts.

Source: David Papazian/ Shutterstock.com
5. Tackle the window.
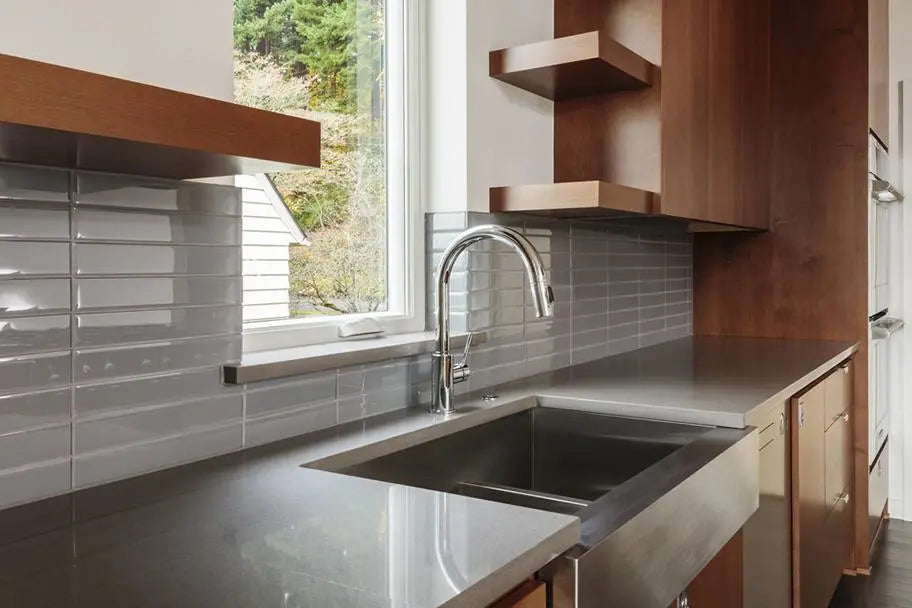
Now it’s time for the window. Measure the space between the window and the tile spacers in the row you’ve just installed below the window. Then mark your tile, and cut along the line. Apply your mortar and install the tiles. If full-size tiles fit along the sides of the window, go ahead and install them. If full size tiles won’t work, use the approach outlined in above to get the right fit. Once your wall is set, give your mortar plenty of time to dry before wrapping up that fine work with your tile grout. Follow these tips and it won’t take any time at all before you’re a regular master of tiling around windows.
Contact Contractors Direct for All Your Tiling Needs
If you have questions about tile or our tiling tools, we’re here for you! Reach out to us at 1-800-709-0002.

